I have created a radio bag, a nice and complete HAM STATION completely indipendent and ready to go on air when and where you need like outdoor activity, summerhouse operations, field day, activation and dx peditions. I have take some ideas on the web… it is called HAM GO BOX or HAM RADIO BAG ….
I immediately begin by specifying that I have not invented anything, I took the cue here and wandered around the WEB and adapting to my needs the various projects that can be found with a simple search. Honestly it will hardly be possible to follow a project of others step by step, because each of us uses different equipment, and therefore it is necessary to build this RADIOBAG completely personalized.
In my case, everything was designed to host an Icom 706, a switching power supply, an LDG tuner and a speaker … I had anticipated another couple of accessories such as a small clock and a thermometer with a probe to monitor the internal temperature, but I soon had to abandon the idea of including them, as the space available, as yes you’ll see, it’s very little !!
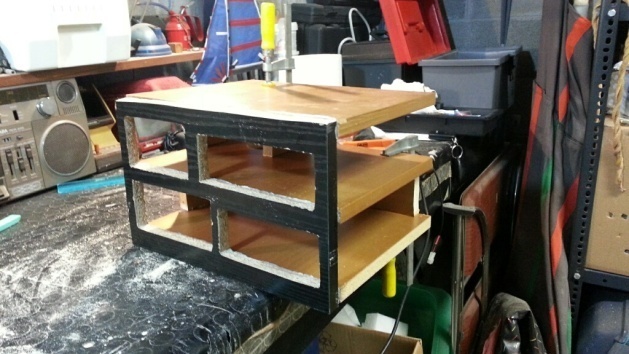
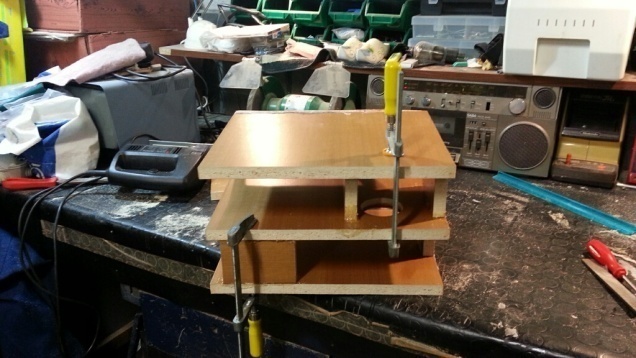
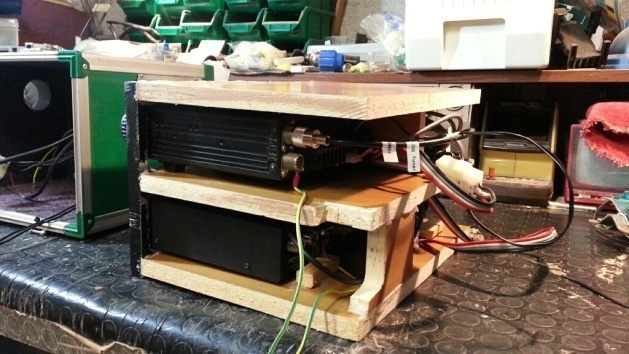
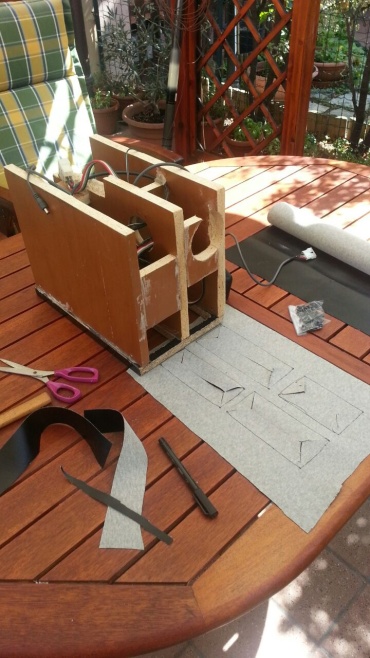
The Bag – The most important things it is to use a solid and sturdy bag, that can support at least 10 kg. I used a DJBAG old style, made of good wood, with detachable lid (very confortable during operations), I started building an ad hoc “shelf” that will be used precisely to install the equipments.
Warning, this is the most important part of the process, as it is necessary provide, in addition to the spaces for the radios, also spaces for the passage of cables, which are really many, spaces for services (antenna inputs, power supply, cw key etc etc. !! The shelf must enter in a specifies inside the suitcase, and it must also be possible to put your hands in it … it is also very It is important to decide the length of the cables, as the longer they will be, the more convenient to connect or disconnect the devices, on the other hand it will be difficult to be able to “pile up” the same cables inside of !! I let the cables come out only 10cm outside the suitcase.
It also MUST NOT BE CLOSED BEHIND ! To build the shelf I recommend to use the easiest wood you find, I used the chipboard wood, easy to work but sturdy enough, and still it allows you to “adjust” the measurements with a few strokes of the file … and indeed it’s happened, after having already assembled it with a very powerful wood glue (Mastro d’Ascia), of having to reduce the measurements by even a few cm. If it had been more robust wood I would have had to disassemble and redo everything ……
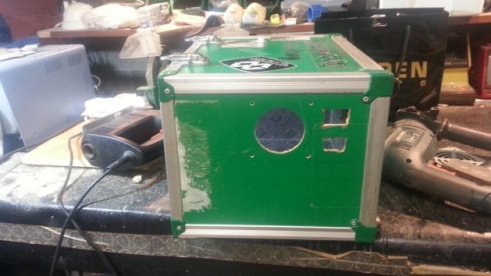

The services – Now it’s time to choose where you want the services plugs. You need to put them in a place not used from equipments or cable, or will never fit. I decided to have this features:
- 2 antenna for HF
- 1 antenna for VHF/VHF
- cw capability
- Double power supply 220volt and 12 volt
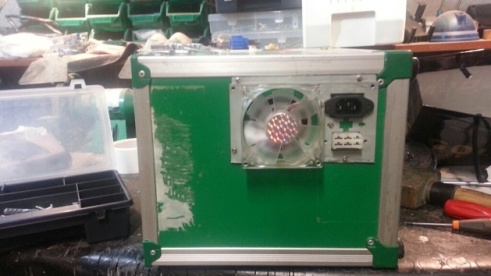
- pull out of case warm air due to TX
I re-used the metal plate of an old pc as was already ready for 220 voltage and the fan was already ready
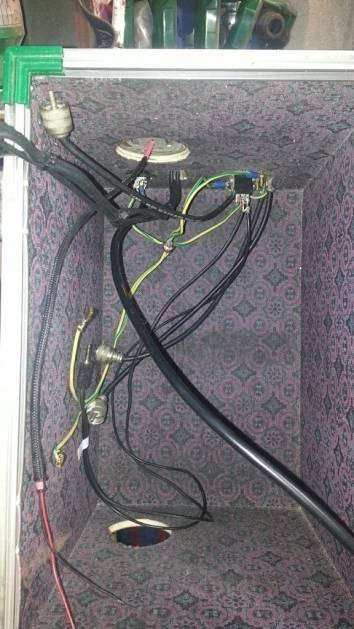
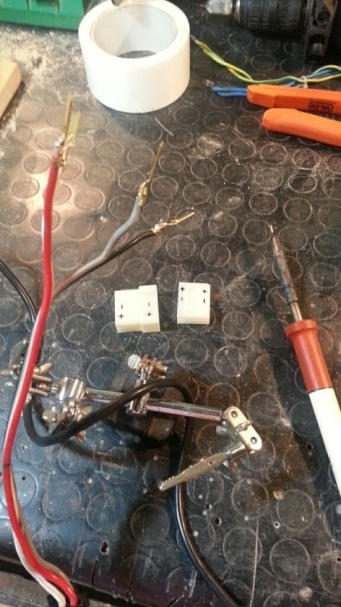
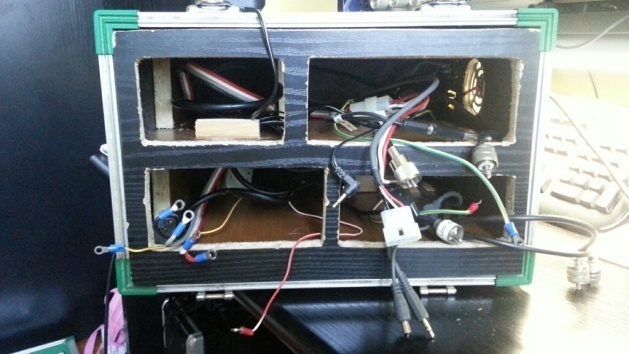
Fitting the cable – When all plugs was mounted on the bag, I started wiring. I have labeled every cable and plug, to be sure which cable need which plug, and I used 2 quick connectors for 220volt and 12volt … in this way will be easy and fast change supply. I tried to keep wires short as possible, but still conserving a confrotable way to plus them.
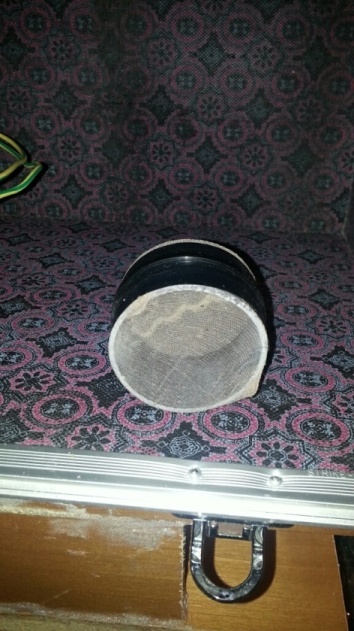
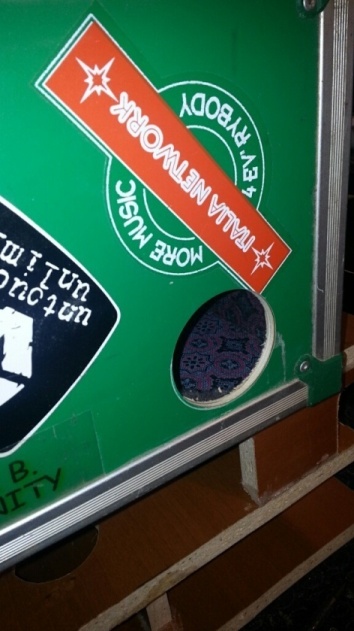
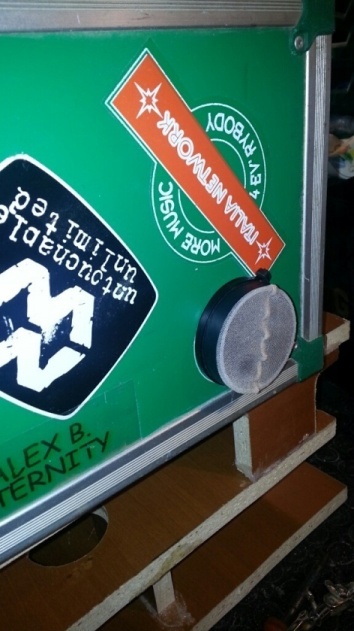
Air circulation – Considering that transceiver will works in a close place, and also knowing that IC 706 is quite know to became very warm during transmission, it was necessary to think to a good air circulation inside.. the IN hole should be bigger then the OUT hole, but I haven’t anyt bigger bigger hole cup, then I decided that this one was perfect. It is a good idea also to make a filter for the IN hole, and I used a woman pantyhose fitted on a plastic tube of the proper size to realize a sock filter. Good enough !
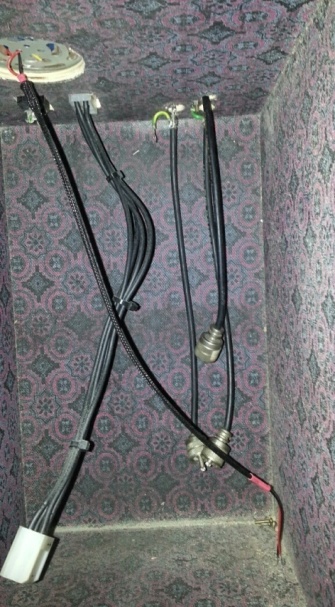
The offline wiring test – When all wires was ready, need to check if every equipment could be properly plugged. With the “shelf” outside the bag, I could easily made the test; in this way you understand if you need more holes in the shelf to let every wire reach the plugs, change the lenght of wires… the final process will be put the shelf inside the bag, and plug the equipment from inside, and probably will be not confortable, as the space left it is really small
The marriage – now shelf and bag has their marriage… the shelf should fit perfectly in the bag, to void bad movement during transport… keep in mind that the whole construction at the end will be quite heavy, and having a “dancing weight” will be not good. If everything match, we can start put inside the equipments, pluggin finally everything. And this is the last phase you can still adjust the shelf.. in my case a couple of wires have been re-extended, as they remained “pinched” in the shelf corners …
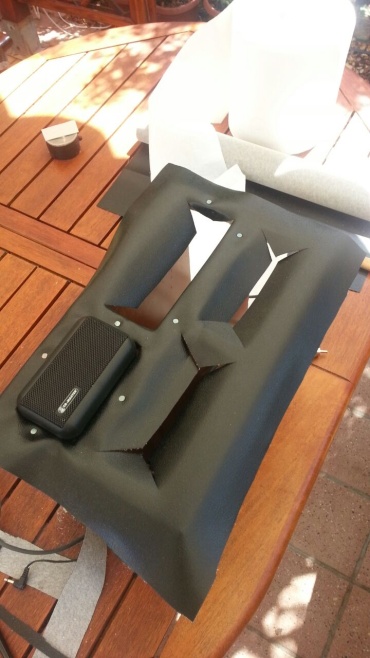
External finish – I originally decided fror having an eay black wood face, but at the end I change my mind, as the face was ugly; then I used this plastic leather really easy to use and fix, and I give a finally spartan appearance… the radio bag is now ready !
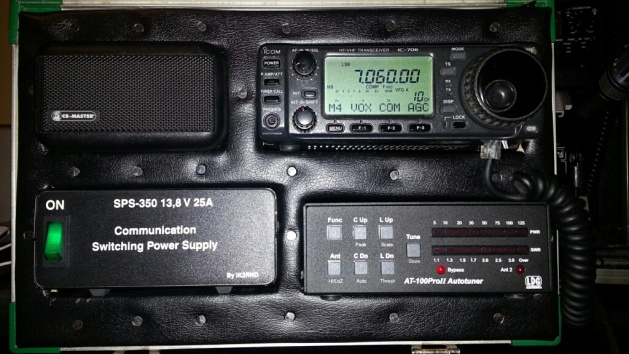
Smoke test – If everything is properly plugged in, you can run at this point your smoke test ! In my case everything work properly ! The fan is making is good job, I erally recommend to plan this process, after a good 30 minutes trasmission you can easily taste the warm air coming out… now Dx pedition, Activation or just Saturday outdoor will be the perfect sitaution to a better test !
FINAL CONSIDERATION – It was really a lot of un to build my RADIO BAG, and I am totally satisfied, but is I should build a second one I will keep this in mind:
- More space – may be a bit bigger bag will allow me to put something more as the Loggin Netbook (I am putting that in the backpack with the antenna wires)
- Everything inside – the fan should be better inside, more protection during transporation and luggages storage
- Power supply switch – studying a good switch to change power supply in a click; actually I have to bring out the TRX and change the fast connector … it is a 20 second operation, but could me better improved.
Thanks also to Daniele IZ3WFD as I change a couple of email in the initial phase of the process….. more improvements are for sure possible…
Now it’ your time …..
Step by step the construction process
How works my radio bag .. detail and operativity.